In today’s fast-paced world, staying fit and healthy is more important than ever. But with busy schedules and countless fitness options, it can be challenging to find the right program that suits your unique needs. Enter Artificial Intelligence (AI), a game-changing technology that’s revolutionizing the way we approach fitness. But how exactly is AI shaping the future of personalized fitness training? Let’s dive in and explore.
What is AI
AI, or Artificial Intelligence, refers to the development of computer systems that are capable of performing tasks that typically require human intelligence. These tasks range from understanding natural language to recognizing images, making decisions, and even solving complex problems. The core idea behind AI is that these machines can think, learn, and adapt based on the information they receive. Over time, AI systems become smarter and more efficient as they process more data and refine their algorithms. A classic example is the use of voice assistants like Siri or Alexa, which can understand speech, provide relevant responses, and even learn user preferences to offer more personalized recommendations.
Importance of Personalized Fitness Training
Personalized fitness training is essential because no two individuals have the same body, goals, or fitness level. A one-size-fits-all workout plan may not be effective for everyone. Personalized fitness training takes into account an individual’s unique physical characteristics, lifestyle, and goals, ensuring that the exercises and nutrition plans are tailored specifically to them. For example, someone looking to build muscle mass will have a very different regimen from someone aiming to lose weight or improve cardiovascular health. Personalized training can also factor in injury history, allowing for modifications that prevent re-injury and ensure safe progression.
Before AI, achieving this level of personalization required hiring a personal trainer or coach, which could be expensive and inaccessible to many. With the rise of AI in fitness, personalized training has become more affordable and scalable. AI systems can analyze a user’s data—such as weight, height, and fitness goals—and create a program designed just for them. Moreover, these systems continuously update the plan based on progress, ensuring that the workout remains challenging and effective over time. This kind of dynamic personalization is a game-changer in the fitness world, allowing people of all fitness levels to achieve their goals more efficiently.
How AI is Transforming Fitness Training
AI is playing a pivotal role in reshaping the fitness industry, offering advanced solutions to improve workout routines, enhance personal training, and create a more personalized experience for fitness enthusiasts. Here are some of the ways AI is transforming fitness training:
AI-driven Fitness Apps and Devices
Fitness apps and smart devices powered by AI are now a staple in the fitness industry. These platforms collect data like your heart rate, step count, and calories burned, and then use AI algorithms to offer tailored advice. For example, if an AI fitness app notices you aren’t hitting your step goal for the day, it can prompt you to take a quick walk. By analyzing long-term trends, these AI systems help optimize your workouts for better results, adjusting plans to fit your needs.
- Track daily activities like steps, heart rate, and sleep
- Provide personalized workout suggestions based on progress
- Offer real-time feedback and adjustments to exercises
Personalized Fitness Plans with AI
Unlike traditional fitness plans that take a one-size-fits-all approach, AI-powered systems craft personalized plans based on your body type, fitness goals, and even how well you’re recovering from workouts. AI eliminates the need for guesswork by constantly learning from your performance data and updating your training regimen to ensure it’s effective and safe.
- Create tailored workout routines based on personal fitness data
- Adapt plans dynamically based on performance and recovery
- Provide recommendations for nutrition, sleep, and exercise intensity
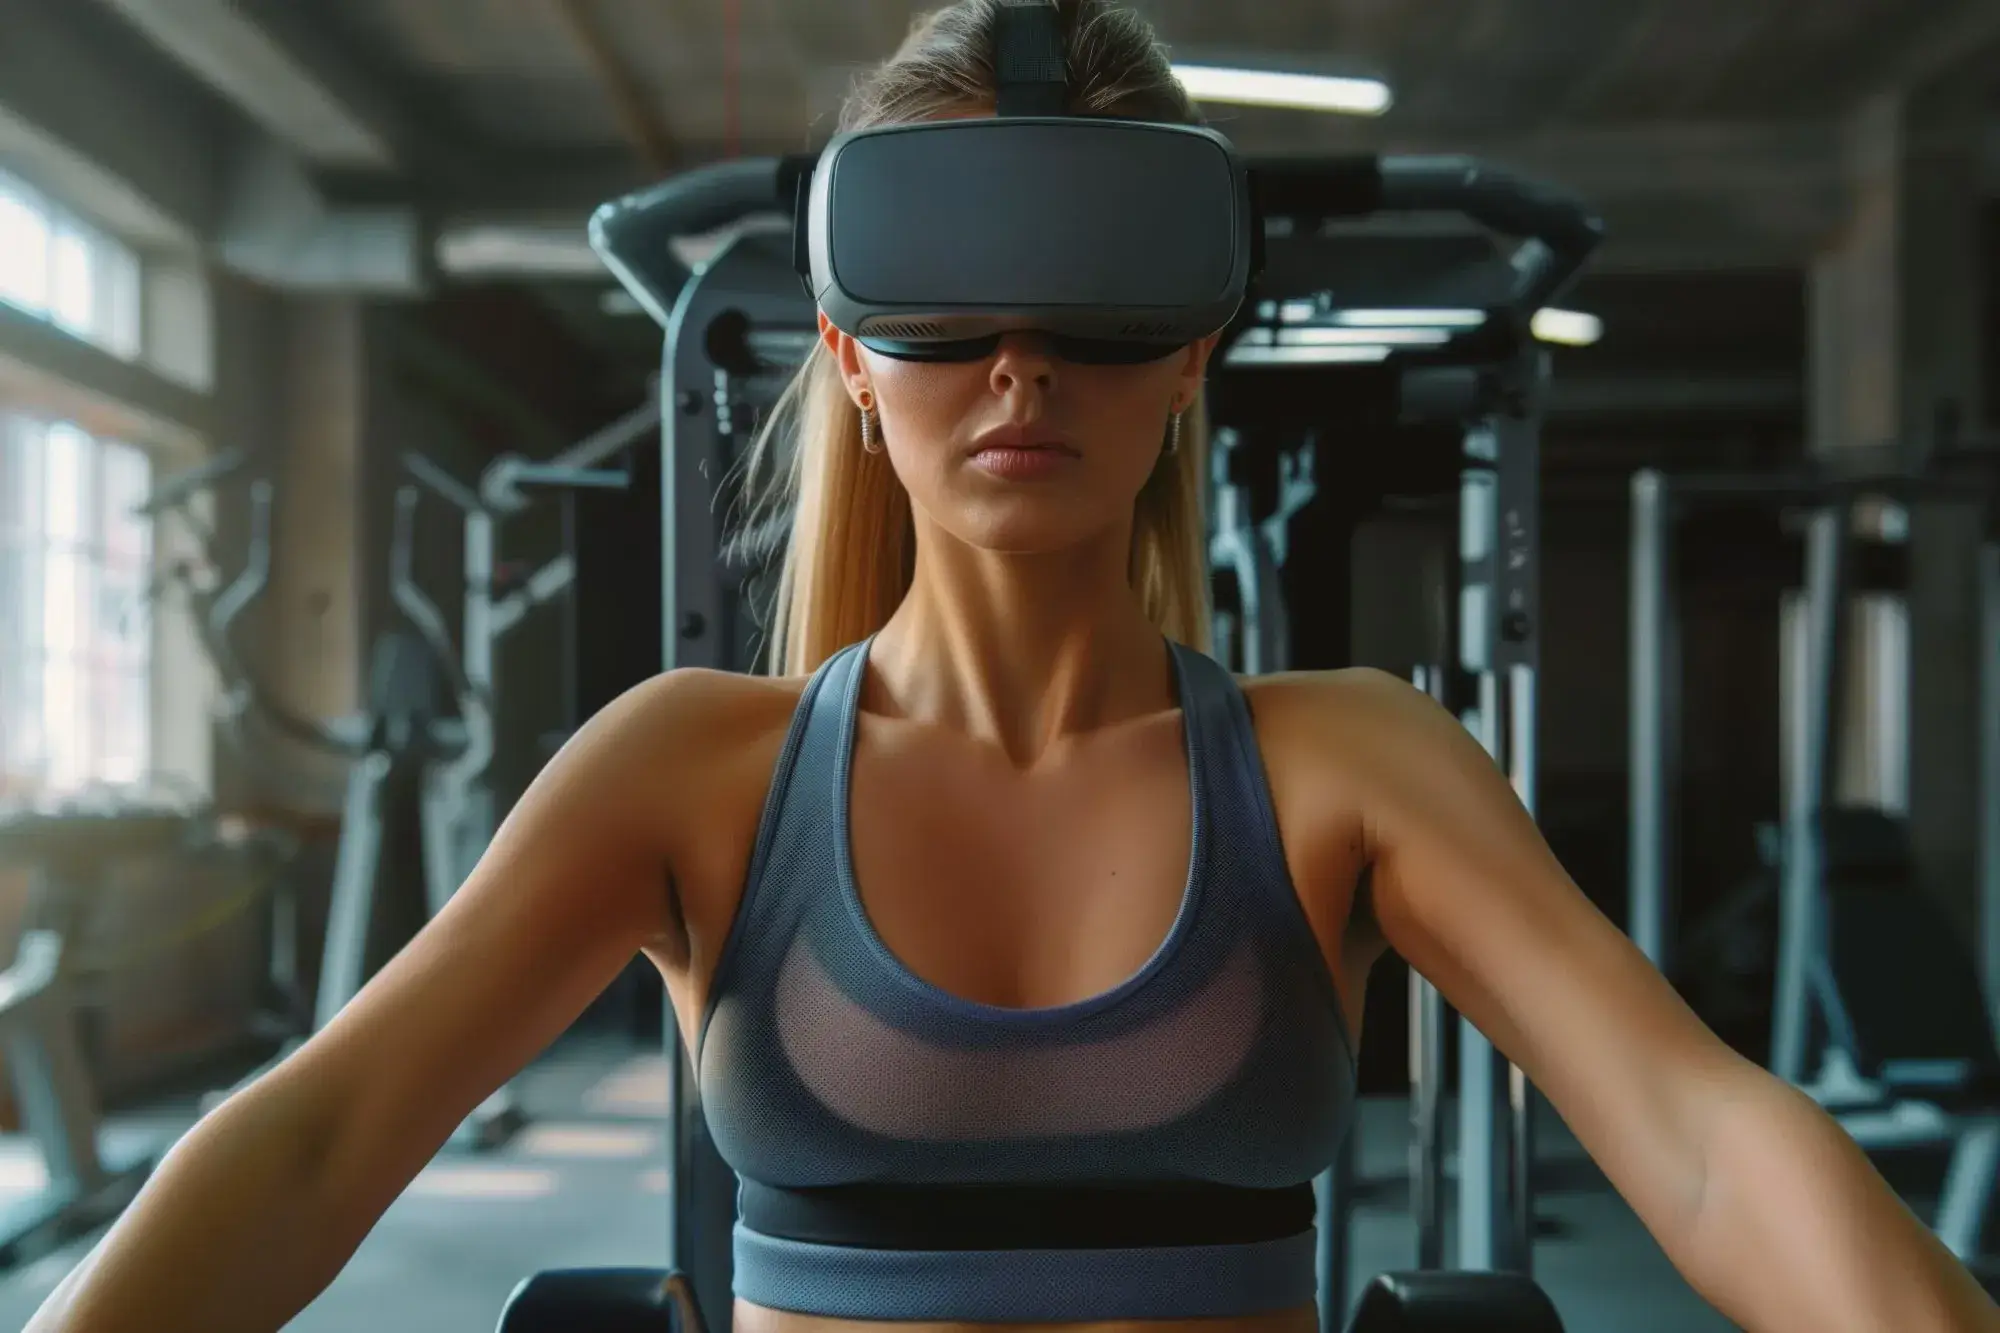
AI-powered Virtual Trainers
Virtual trainers, powered by AI, are revolutionizing personal training. These digital trainers guide users through exercises, ensuring correct form and offering instant feedback. Whether you’re at home or at the gym, an AI-powered virtual trainer can be available anytime, offering flexibility and convenience.
- Provide real-time form correction to prevent injuries
- Offer personalized coaching based on fitness goals
- Available 24/7, unlike traditional personal trainers
Key AI Technologies Used in Fitness
AI is revolutionizing the fitness industry through various technologies that enhance the user experience and improve training outcomes. Below is a breakdown of key AI technologies used in fitness:
Machine Learning Algorithms
Machine learning algorithms are the core of AI’s influence on fitness. These algorithms process large sets of data collected during workouts, such as heart rate, pace, and calorie expenditure. By analyzing this data, AI learns patterns about an individual’s behavior and adjusts the fitness plan to ensure that it continues to push them towards their goals. Over time, these systems become smarter and more accurate in predicting the user’s needs. For instance, if the AI notices that the user is consistently hitting their goals, it might increase the intensity of the workouts to keep the user challenged.
Machine learning also helps in detecting anomalies in performance, which can prevent potential injuries or overtraining. By comparing data from previous workouts, it can alert the user to any unusual drops in performance or prolonged recovery times. The adaptive nature of machine learning allows AI-powered fitness programs to evolve alongside the user, ensuring that the workout plan always fits their current condition and goals.
AI in Wearable Technology
Wearable devices like smartwatches and fitness trackers have become essential fitness tools for many. These devices, equipped with AI, monitor a variety of physical parameters including heart rate, sleep quality, step count, and even blood oxygen levels. The AI analyzes this data to give personalized insights and actionable suggestions for improvement. For example, if the AI detects that your heart rate remains elevated during sleep, it may suggest changes in your evening routine to improve sleep quality.
Another advantage of AI in wearable technology is its ability to provide real-time feedback during exercise. For instance, if you’re running at a pace that’s too fast for your current fitness level, the AI can suggest slowing down to avoid overexertion. Over time, the AI learns more about your body’s unique responses to various activities, providing increasingly accurate recommendations.
Natural Language Processing in Fitness Coaching
Natural Language Processing (NLP) is another crucial AI technology that allows for more interactive fitness coaching. Through NLP, AI can understand and respond to user queries in natural language, making the fitness experience more engaging and personalized. Whether you’re asking for advice on a specific workout or requesting modifications to a training plan, NLP can provide you with immediate, personalized responses.
For instance, some fitness apps allow you to converse with AI-powered virtual trainers. You can ask questions like “What exercises should I do for my lower back?” or “How can I improve my push-up form?” The AI responds with targeted advice, making the experience feel more human-like and supportive. This ability to communicate naturally with AI creates a seamless interaction between user and machine, making fitness training more enjoyable and intuitive.
| Technology | Function | Benefit to Fitness Users |
| Machine Learning Algorithms | Analyzes workout data and adjusts plans accordingly | Optimizes results by continuously adapting to the user’s progress |
| AI in Wearable Technology | Monitors physical activity and health metrics | Provides real-time feedback and personalized insights |
| Natural Language Processing (NLP) | Enables natural language interaction with AI | Creates a more interactive and personalized coaching experience |
Benefits of AI in Personalized Fitness Training
AI has brought numerous advantages to fitness, particularly in the area of personalization. From custom workout plans to real-time feedback, AI enhances every aspect of the fitness experience.
Tailored Workout Plans
One of the primary benefits of AI in fitness is the creation of tailored workout plans. AI systems analyze a variety of factors, such as your current fitness level, goals, and past performance, to develop a program specifically designed for you. For example, if you’re looking to lose weight, the AI will generate a plan focused on cardiovascular exercises and calorie control, while someone aiming for muscle gain might receive a strength training-oriented plan. What’s unique about AI is that it takes into account how you feel on any given day, adjusting the difficulty or type of workout as needed.
AI-driven workout plans are also dynamic, meaning they change as you progress. If the system detects that you’re recovering faster than expected, it may increase the intensity of the exercises. Conversely, if you’re struggling to keep up, it will suggest modifications to prevent injury or burnout. This level of personalization ensures that your workout is always aligned with your abilities and goals, making the experience more effective and enjoyable.
Real-time Progress Tracking and Feedback
AI excels in tracking progress and providing real-time feedback, which is essential for anyone looking to optimize their fitness routine. Whether you’re lifting weights, running, or doing yoga, AI can monitor your performance and provide instant feedback. For instance, if you’re not maintaining the correct form during an exercise, the AI can notify you immediately, helping you correct it before it leads to injury. This kind of real-time feedback is invaluable for beginners who might not know if they’re doing an exercise correctly.
Additionally, AI tracks your long-term progress, giving you insights into how your fitness levels are evolving. For example, it can show you how your strength has increased over time or how your cardiovascular endurance has improved. This continuous tracking not only keeps you motivated but also helps you identify areas that need improvement. AI ensures you stay on track to meet your goals by providing timely and relevant feedback during each session.
Leave a Reply